Should you resize your pictures? If you have a full resolution photo or graphic then the answer is probably yes. Your images shouldn’t be wider than your page width (1100px max for a one column, 800 px for two column, 550 px for three column). Aim for a file size of around 300KB or less per image.
On this page
Check the file size
How can you find the file size and dimensions of an image?
Mac
Right click and select Get Info
(this works in the images directory)

Windows
Right click, select Properties and click on the details section

Can I just make large images look smaller?
You might be tempted to scale down an oversized image in WordPress or Omni by adjusting the width and height values (or by clicking and dragging to make it smaller).
Don’t do that – resize your pictures before you upload them.
Just making an image look smaller on a page does not make the file size smaller. For example, if you upload a 5MB picture with dimensions 2000×2000 px, changing the dimensions to 100x100px on the page will only change the display of that 5MB image in the browser. Large files increase page load time and users with slow internet connections may leave your page before it even finishes loading. In the case noted here, it would be better to scale down your picture to 100x100px in a photo editor like Pixlr and upload it to your website. The file size will be much smaller and your page will load faster without a large image file slowing it down.
If you come across a slow or unresponsive web page, it’s often because someone uploaded a huge file. We have seen users upload image files as large as 34MB! Don’t do that! Keep your file size low and in kilobytes (KB) not megabytes.
How to resize your photos in Pixlr
Pixlr is a free image editing website.
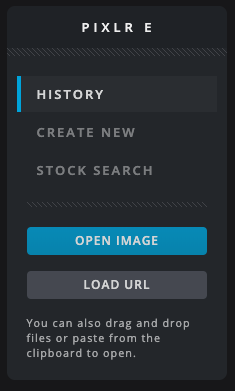
Go to the Pixlr editor site https://pixlr.com/e
(This is the beta version of the photo editor, but it does not require Flash like the previous version)
Click Open Image
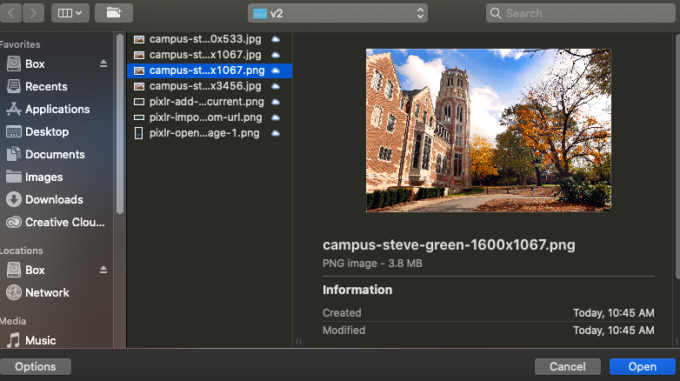
Select an image from your computer and click Open.
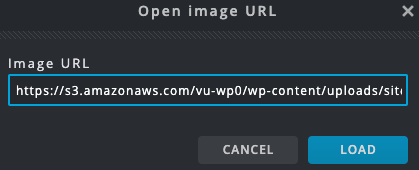
Loading an image hosted online
If your picture is hosted on another website, you can click load URL to import your image. Just enter the image URL and click load.
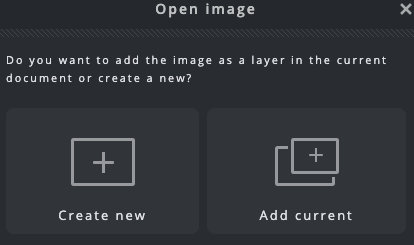
Opening multiple images
If you already have an image open, when opening a new image, it will ask if you want to create new or add current. Unless you are familiar with layers in Pixlr, select create new for each image your wish to edit.
Opening an ultra high-resolution image
If the image you are loading into Pixlr is too big (over 3000px wide), it will require you to reduce the image size on import to edit it. If it does this, choose an image setting that will give you enough resolution to resize the image. In many cases, the web setting will be sufficient.
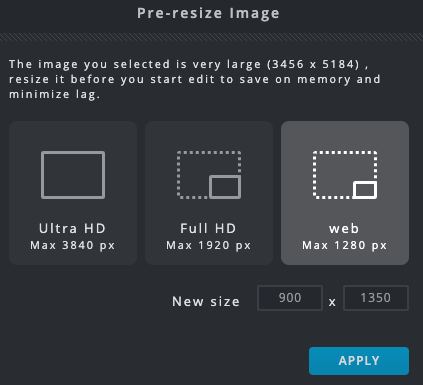
Image Resources
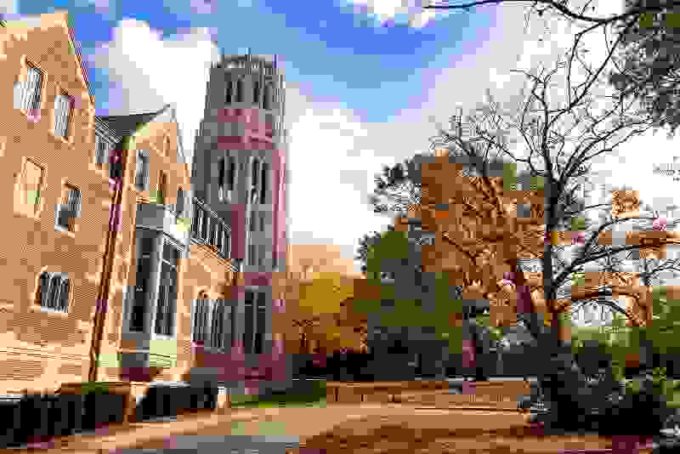
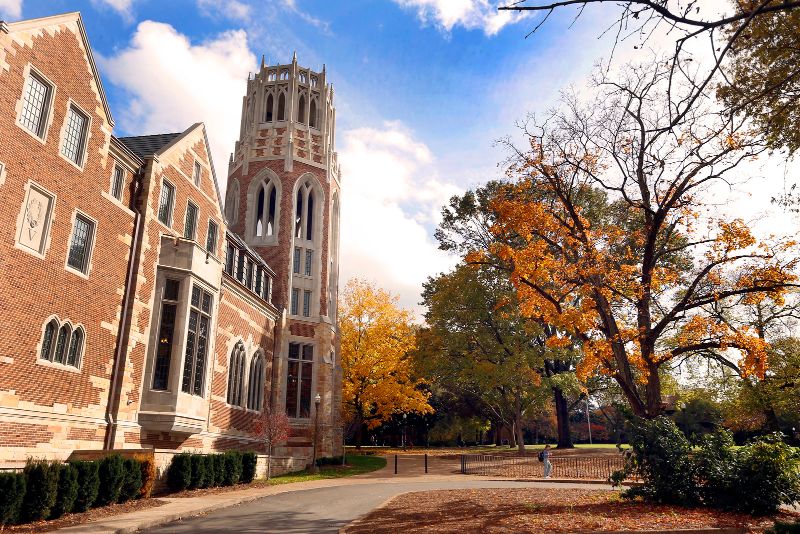
For this tutorial we are uploading a picture we found on the Vanderbilt Flickr stream.
(Images in the Vanderbilt Flickr feed are free for use by official Vanderbilt departments and organizations.) For more image resources, check out the resources for photos, graphics and logos page.
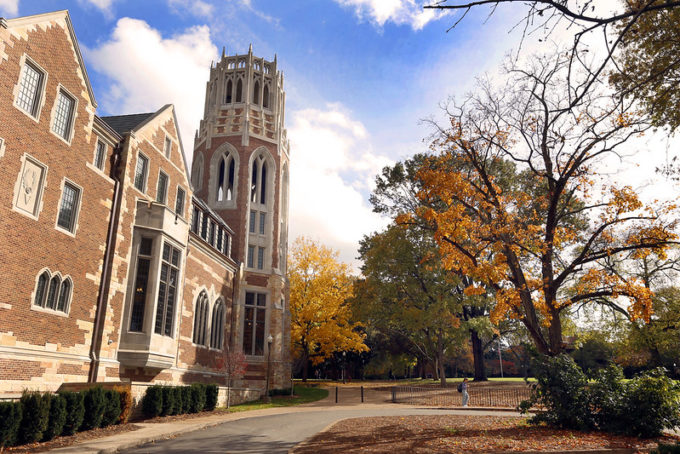
New construction of dorms with Fall colors (Vanderbilt University / Steve Green)
Image Details
File Size: 3.8MB
Dimensions: 1600 x 1067
Resize your Image
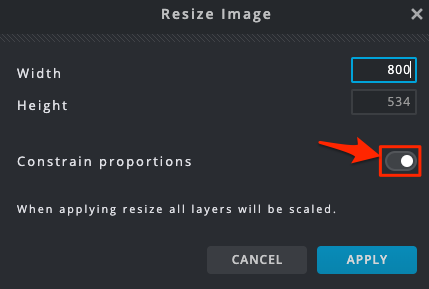
Click on Image > Image size…

Enter the width and height values and click apply. Make sure constrain proportions is enabled so it will scale evenly.
Go to File > Save to save your image
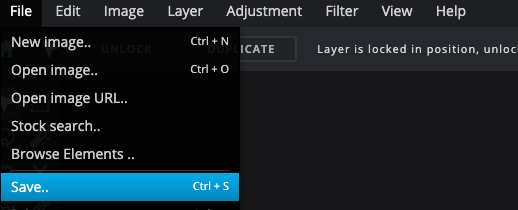
File save settings
Below are some guidelines for filename, file type, quality settings, width, height and file size.
Filename: Choose what you would like the file to be called. Do not use spaces or special characters
File type:
PNG is a lossless file type and saves the full image resolution. Photographs saved in this format will generally have a much larger file size than JPEG.
JPEG is a lossy file type that compresses the image to reduce file size. Compressing a picture too much will make it look blurry or pixelated.
Image width: For recommended image sizes, see the General Image Sizing Guidelines. Under 1100px is usually good.
Quality: Reducing this value decreases the file size, but can also reduce detail
File size:
The file size is shown underneath the quality buttons
Reduce the quality enough to get the file size under 300kb without a visible loss to image quality. The setting should be in the kilobytes (KB) not megabytes (MB).
To download the image, click the Download button
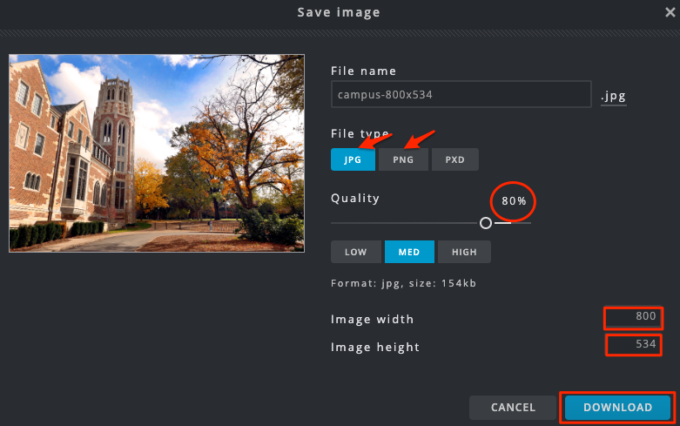
Details about the downloaded image
Compressions: 20% (Quality: 80% in Pixlr)
File size: 154KB
Dimensions: 800 x 534px
A note about image compression
Lowering the quality by 10-20% (Med and High settings) can slim down the file size, but don’t overdo it. Compressing an image too much can make it look grainy.
For an extreme example, this is what the image looks like when the quality setting is set to 1%
(99% compression)
Image details
Compression: 99% (Quality 1% in Pixlr)
Size: 9KB
It’s only 9KB but image quality has been deteriorated so much that it can’t be used.